Training Guide Day-to-Day Management: Student Management
Student Management Overview
This training guide covers:
§ Enrolling and registering students
§ Registration approvals
§ Managing student transcripts
Student Enrollment and Registration
Prior to enrolling and registering students, the following must be set up in Prosperity:
§ Programs must be created with associated training maps which designate the courses and activities that must be completed in order to complete the program.
§ Events such as emails to be generated based on enrollments and registrations must be configured for each program.
§ The company and its curriculum rules associates the pricing and the programs for which the students from the specified company are eligible.
§ Job Roles associates the courses for which the student is eligible.
The steps to enrolling and registering a student are:
1. Complete the Student Record form.
2. Enroll the student into a Program.
3. Register a student for class or course.
1. Click Enroll & Register from the Student Services menu.
2. Click the Clear button if necessary, to clear the form.
3. The system will automatically generate the Student Key.
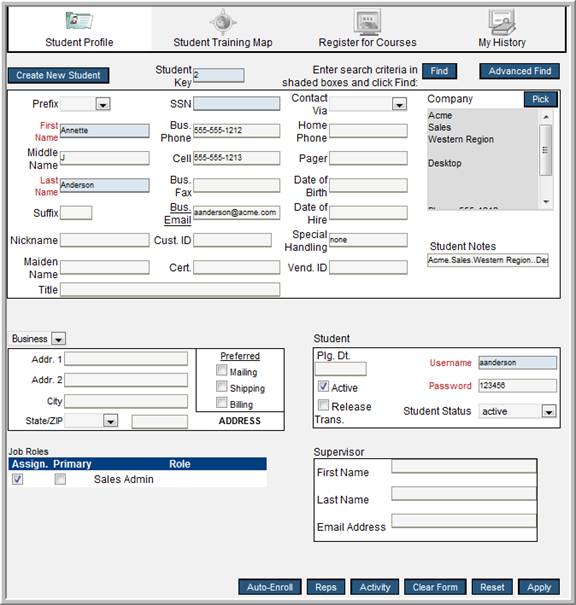
4. Complete the fields required by your organization. The fields in red are required by the system.
5. Many of the fields are populated by clicking a pick button, and then selecting from a list of options:
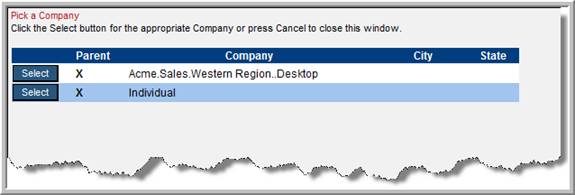
§ Click the Company pick button to select the company to which you will associate the student.
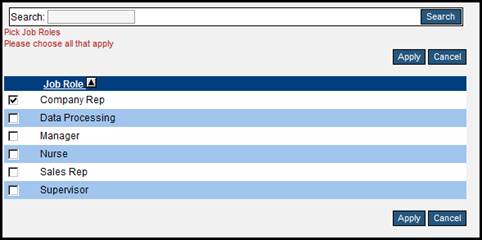
§ Specify the job role by clicking the Job Role pick button and choosing the correct job role.
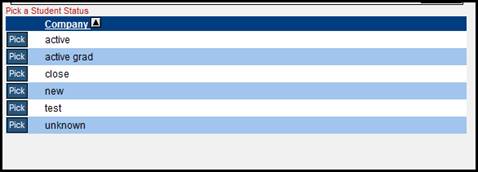
§ Specify the student status by clicking the Student Status pick button and choosing the correct status.
6. After completing the Student Record form, click Apply.
Once the Student Record form is completed, you are ready to enroll the student into an existing program. Based on the company and job roles assigned to the student, the appropriate programs with their associated courses will display in the Register for Courses tab of the Student Record.
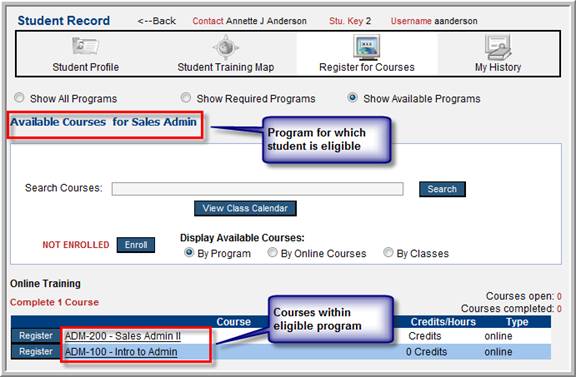
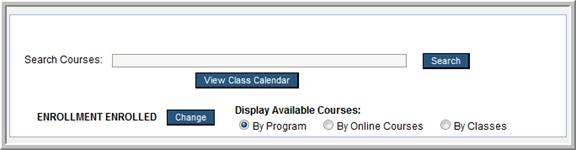
The enrollment status displays in the middle of the Register for Courses screen – it will either say Not Enrolled or Enrolled. In the example above, it says Not Enrolled.
7. To enroll the student into an eligible program, click Enroll.
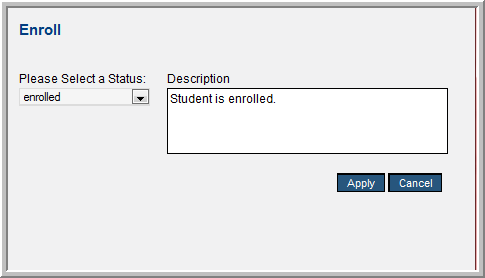
8. You can select an enrollment status from the dropdown, although the default is set to enrolled. Depending on how the program is set up, this may automatically generate an email to the student confirming their registration into the program, after clicking Apply.
Register for a Course/Class
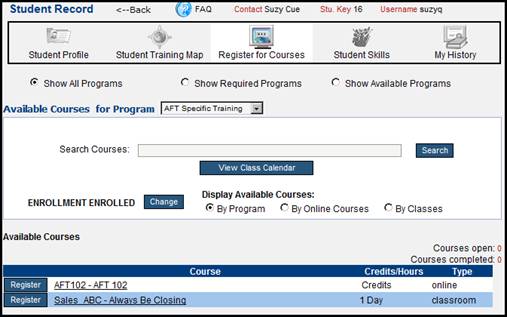
Now you are ready to register the student for their courses. This is performed by simply clicking the Register button to the left of the course in which the student is to be registered.
1. The system prompts you to specify the exam status for the student.
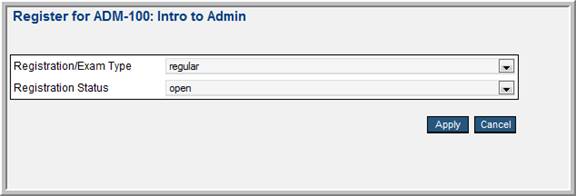
2. You can change the status for the exam if there is one, as well as for the Registration Status. Depending on how the program is set up, clicking Apply may automatically generate an email to the student notifying them of the course(s) for which they are registered.
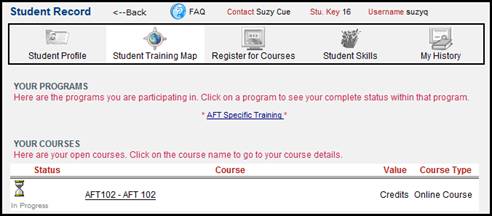
From here you can click the link for the Program to register the student for additional courses in the specified program. This screen also displays the student’s progress in the course: Not Started, In Progress, or Completed.
When the number of student class registrations surpass the class capacity, the class status is marked as FULL, and the last students registrations are marked as Wait.
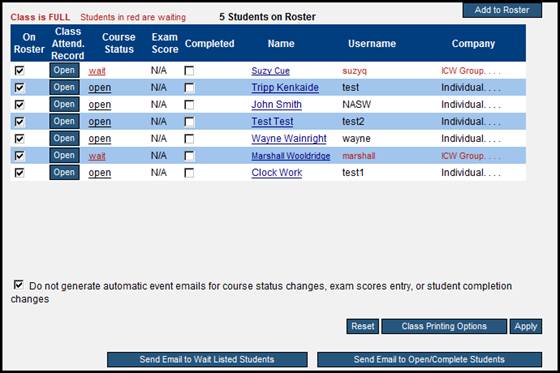
Emails can be sent to wait listed students, by clicking the Send Email to Wait Listed Students button. To allow the wait listed students to attend the course, follow these steps:
1. Click Wait.
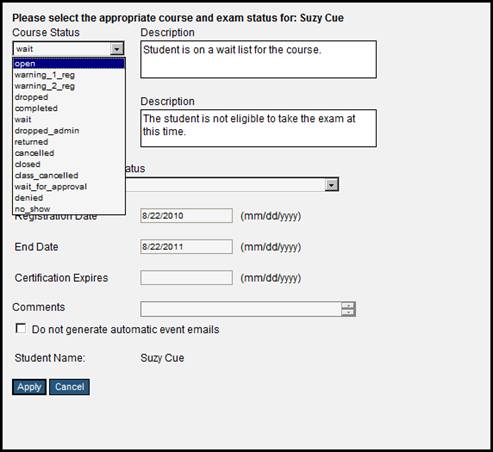
2. Click the Course Status dropdown and select Open.
3. Click Apply to change the student status to Open, meaning they can take the class.
4. Clicking Send Emails to Open/Complete students notifies wait listed students that they can attend the class.
Student Transcripts – Program Level
A history of the student’s enrollments and registrations, as well as their activity is recorded in the My History tab of the Student Enrollment screen.
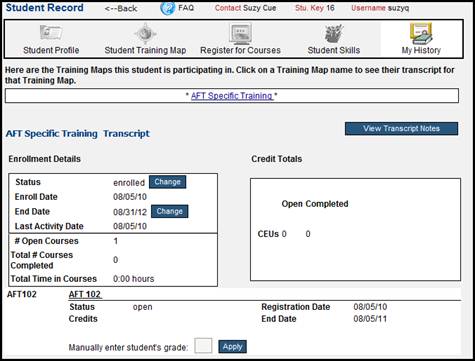
The following administrative actions can be performed at the program level, from this screen:
§ Change the enrollment status.
§ Change the expiration date for student’s enrollment
§ Change the completion status of a course.
As well, you can also view their earned credit hours and CEUs, and manually enter a grade for a class or course.
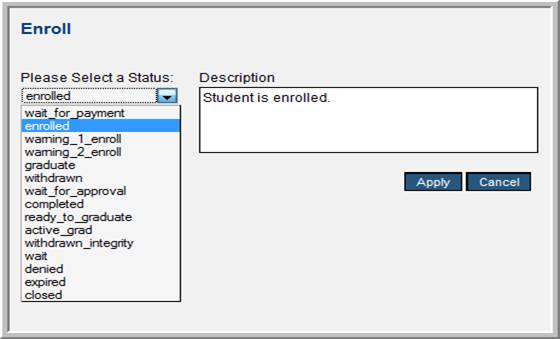
Change the Program Enrollment Status
It may be necessary on occasion to change the enrollment status of a student. By clicking the Change button to the right of Status in the Enrollment Details area, you can specify a new status. (Depending on your configuration, you may or may not see every status displayed below.)
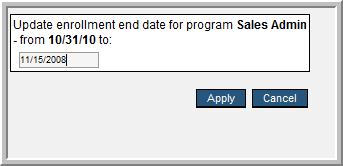
The End Date specifies the date by which the student is to complete the program. For the situation in which you must change the End Date, simply click the Change button to the right of the End Date in the Enrollment Details area.
Student Transcripts – Course Level

By clicking the Course name, you will display the student’s transcript for the specified course.
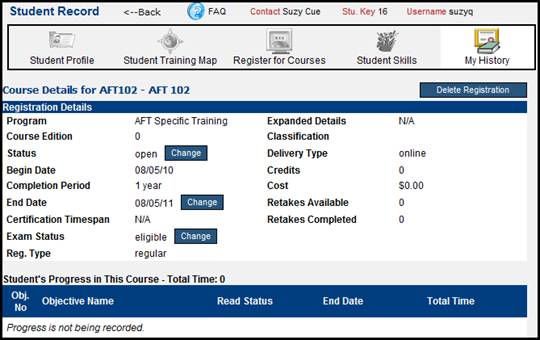
You can perform the following administrative actions at the course level, from this screen:
§ Change the enrollment status
§ Change the end date
§ Change the completion status
§ Delete the registration
Change the Course Enrollment Status
To change the status, click any of the Change buttons to the right of the Course Status, End Date, or Exam Status in the Registration Details area.
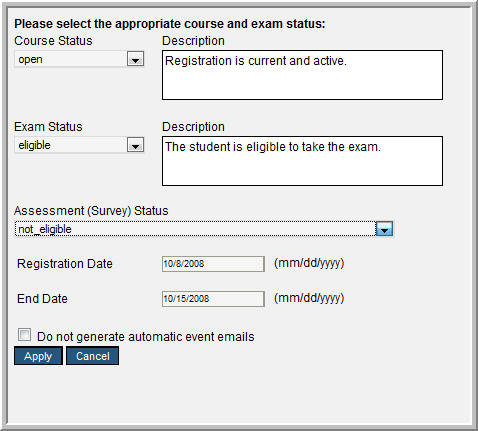
Doing so allows you to:
§ Change the course status
§ Change the Exam Eligibility status
§ Change the Course Survey status
 Student Management
Overview
Student Management
Overview