Setup Configuration Options: Branding
Branding Overview
Branding refers to how the Prosperity Student Portal will look to those who log in. You will need to work with your Project Consultant to review and setup these configurations.
This includes:
§ Specifying the landing page once the user has logged in
§ Identifying images and logos that should display throughout the student portal
§ Determining the color scheme, banner and banner graphics
§ Specifying the font size, color, and style
§ Identifying links to additional content, such as Announcements
Clients can perform their own branding tasks by asking their project consultant for access to the ftp site, as well as information on how the site is set up for their instance of Prosperity. Clients who desire to do their own branding should have an understanding of style sheets and basic HTML.
Getting Started with Branding
This guide shows you how to:
§ Set up branding for the Admin Portal
§ Set up branding for the Student Portal
Set Up Branding for Admin Portal
Branding the Admin Portal is a straight forward task, in that you are defining the colors and fonts for the header banner. You will need to work with your Project Consultant to review and setup these configurations.
Here are some guidelines for setting up the branding for the Admin Portal:
§ The header banner is typically 80 pixels high and typically takes up 100% of the screen width.
§ The height of the graphic can be adjusted as needed although we don’t recommend a height greater than 120 pixels.
§ Your graphic should leave room on the right hand side for Prosperity to overlay links as needed.

Figure 1: Admin Portal Branding
If you have a web page which you want your portal to look like, you can take a screenshot of it and insert it into an editable document like a Word or PowerPoint document to your project consultant.
Additionally, you will select the colors for the Admin Portal menus.
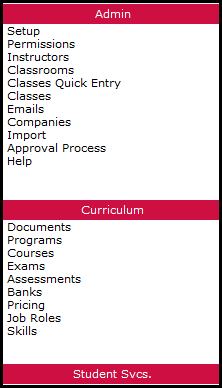
Figure 2: Admin Portal Menus
 Branding
Overview
Branding
Overview